 Mazhuang Village, Yuhe Town, Huixian City, Xinxiang City, Henan Province, China
 Service Hotline +86 17630258963
  Cell phone +86 17630258963
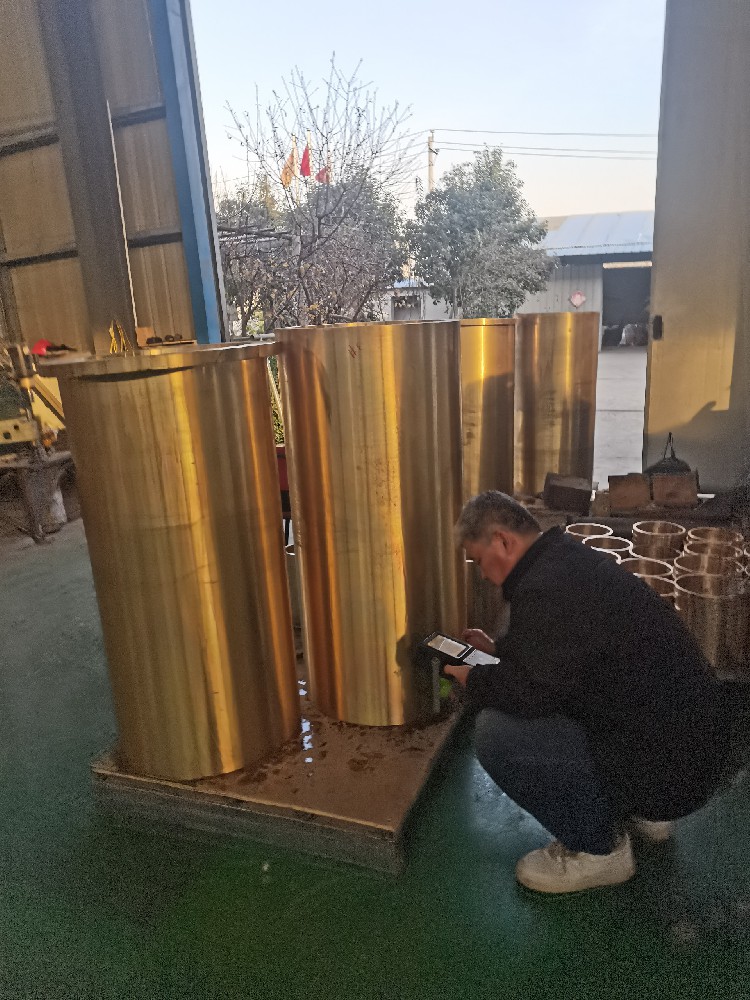
 Finish inspection is the detection and assessment of the surface roughness of the copper bushing, usually used to determine the smoothness and fineness of the surface of the copper bushing. It mainly measures the height, width and distribution of surface microscopic unevenness to determine whether the surface of copper bushing meets the design or quality requirements. Finish has an important influence on the friction performance, wear resistance and sealing of copper bushing.
The main measurement parameters of finish:
Ra value (average roughness): the most commonly used finish parameter, is the average value of the surface undulation of the copper bushing, usually in microns (μm).
Rz value (maximum height): is the distance between the highest point and the lowest point in the measurement area, reflecting the extreme value of the surface roughness of the copper bushing.
Rt value (total height): indicates the distance between the maximum height and the minimum height of the surface, which is used to reflect the total range of surface roughness of the copper bushing.

Purpose of the finish inspection:
Ensure the quality of copper bushing: through the finish test, it can determine whether the smoothness of the surface of the copper bushing meets the standard or not, so as to avoid the problem of excessive friction or abrasion in the process of assembly or use.
Improve assembly performance: Finish affects the fit and sliding performance of the bushings, a better finish helps to reduce wear and improve operational efficiency.
Reduces stress concentrations: A bushing with an excessively rough surface can lead to stress concentrations that increase the risk of fatigue damage, so these risks need to be minimised through the finish inspection.
