 Mazhuang Village, Yuhe Town, Huixian City, Xinxiang City, Henan Province, China
 Service Hotline +86 17630258963
  Cell phone +86 17630258963
 Inspection and Evaluation
When a copper bushing is found to be burned out, the first step is to conduct a thorough inspection of the equipment. Disassemble the burnt bushing and take a close look at the extent of damage to the bushing and the journal with which it is mated. Check the surface of the journals for strains, wear, deformation, etc. Also assess the amount of wear, the degree of deformation, and the presence of cracks and other defects in the copper bushing.
For the journal, if it is only slightly strained, it can be repaired by grinding, etc. If the strain is serious or deformation occurs, it may be necessary to replace the shaft or carry out a more complicated repair of the shaft, such as patch welding and then processing.
Copper sleeve repair methods
Scrape repair (applicable to slight wear)
If the copper bushing is lightly worn, the method of scraping can be used. Clean the copper bushing after burning the bushing, remove the surface oil, oxidized layer and impurities. Then in the standard shaft (or with the same size with the journal of the special grinding shaft) coated with a thin layer of red Dan powder, the copper bushing on the shaft, so that the copper bushing and the shaft relative to the rotation, by observing the distribution of the red Dan powder on the surface of the copper bushing, to find out the high points.
Scrape the high spots with a scraper, repeat the process until the copper bushing and journal contact area and contact accuracy to meet the requirements. After scraping the surface of the copper bushing should form a uniform oil wedge to ensure good lubrication.
Setting bushing repair (applicable to more serious wear)
When the copper bushing wear is serious and can not be repaired by scraping, you can consider the set repair. First of all, the inner diameter of the burned copper bushing processing to expand, after processing the inner diameter to ensure that can be set into a new bushing. The outer diameter of the new bushing and the inner diameter of the processed copper bushing with appropriate interference fit, the general amount of interference in 0.05 - 0.1mm or so.
The material of the bushing can be the same as the original copper bushing or a copper alloy with better performance. After inserting the bushing into the copper bushing, the inner diameter of the bushing is then finish-machined, so that it can reach a suitable fit precision with the journal and ensure a uniform clearance.

Replacement of copper bushing (serious damage situation)
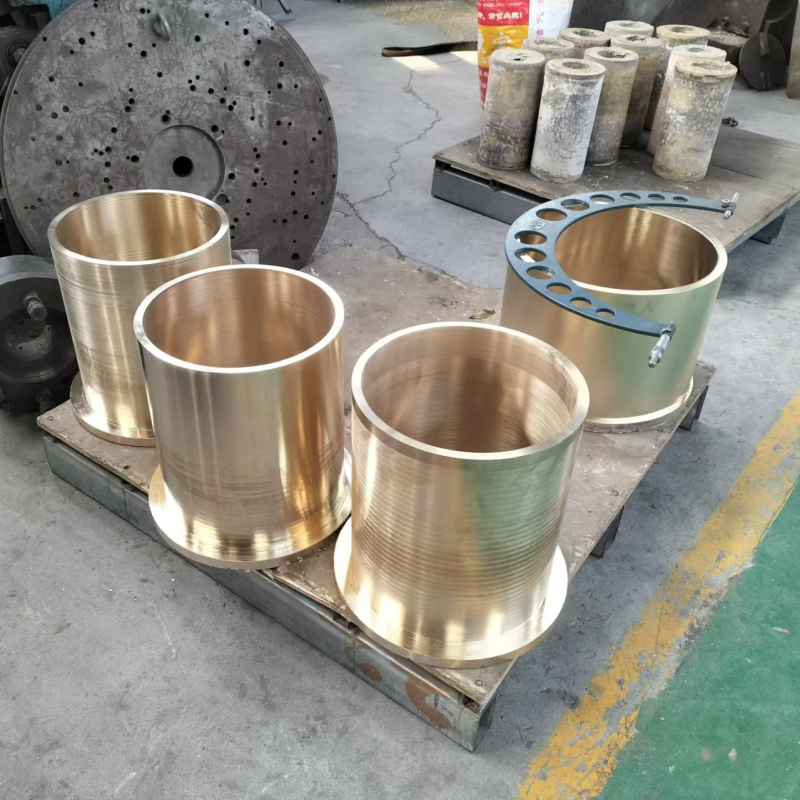
If the copper bushing is cracked, severely deformed or worn beyond the permissible range and its performance cannot be restored by means of repair, it is necessary to replace it with a new one. When replacing the copper bushing, make sure that the size and material of the new bushing meet the requirements of the equipment.
When installing the new copper bushing, it is necessary to operate in strict accordance with the assembly process of the equipment. First of all, clean the copper bushing, and then in the journal and the copper bushing surface coated with the appropriate amount of lubricant, using the appropriate installation tools (such as presses or special tooling) to install the copper bushing in place, to ensure that the copper bushing is installed in an accurate position, and with the journal of the appropriate fit clearance.
Reassembly and debugging
After repairing or replacing the copper bushing, the cone crusher should be reassembled. During the assembly process, attention should be paid to the installation order and installation accuracy of each component to ensure that the copper bushing and other components are well coordinated. For example, it is necessary to ensure that the coaxiality of the moving cone, fixed cone and other components with the copper bushing and other precision requirements.
After the assembly is completed, carry out no-load debugging. Check the operation of the equipment in the no-load state, including whether the operation of the components is smooth, whether there is no abnormal noise. No-load operation for a period of time (generally 2 - 4 hours), if there is no problem, and then carry out load debugging. Load debugging should gradually increase the feeding volume, observe the working condition of the equipment under different loads, such as temperature, vibration and other parameters are normal.
